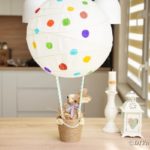
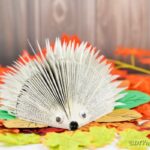
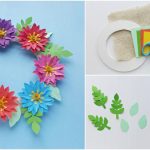
The best DIY projects and crafts are posted daily on various topics like home decorating, organizing, woodworking, and lots of life hacks! Each craft we create comes with a printable steps tutorial and a video.
Popular:
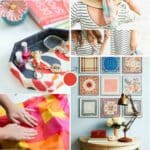
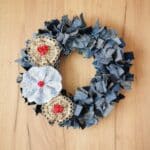
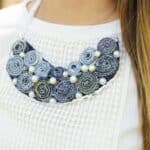
- 100+ Brilliant Scrap Fabric Projects (upcycle leftovers)
- 67 Fun Ways to Cut and Refashion Your T-Shirts
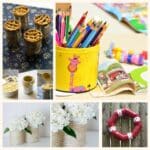
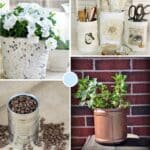
- 50 Ideas for Upcycling Tin Cans Into Beautiful Household Items!
- 30 Genius Ways to Reuse and Repurpose Empty Pill Bottles
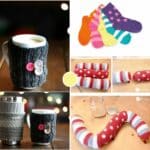
- 30 Brilliantly Frugal Ways To Use Old Mismatched Socks
- 30 Crafty Repurposing Ideas For Empty Coffee Containers
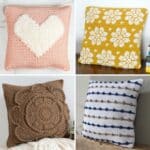
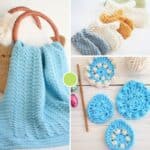
- 120 Free Crochet Patterns Perfect For Beginners
- 30 Brilliant Repurposing Ideas For Old Scarves That You Can Make For Almost Free

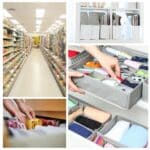
Repurpose
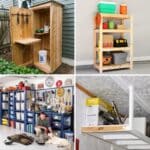
Repurpose everything and start living a greener life while giving items a new use.

See more Repurposing Projects →
Hairstyles
We have a big variety of hairstyle tutorials, all with videos and easy-to-follow instructions.


See more Hairstyles →

About DIYnCrafts
Hi, I'm Leah, the creator of this blog! Over the years, we have grown with a vital editorial team providing you with the best crafts and DIY projects daily.